This is a King Seiko (5626-7111), manufactured (for the Japanese domestic market) in December of 1972. As you will see, it came to me in pretty sad shape. The case was pretty beat up, the crystal was broken, many small shards of same made their way to the dial face and, it was not running. Upon disassembly, I discovered no evidence of any prior service being done. Not a mark anywhere, no buggered screwslots and most importantly, the case, while damaged from hard wear, had never felt the corner-rounding, edge-smearing sting of the buffing wheel. Yes, buffing wheel damage caused by the ham-handed is just as common among "watchmakers" as it is among "gunsmiffs". What I did find inside was hardened oil, everywhere. This meant a complete teardown, to the baseplate, and a thorough cleaning before reassembly and lubing, which is only correctly possible during reassembly.
This watch uses Seiko's 5626B movement, which differs from the 5626A in a couple of areas. The first is that the A version uses an externally accessible regulator (through a plug-screwed hole in the case, between the lugs) and the second is that the day/date corrector "star wheel" is steel. In the B movement, the regulator is internally accessible (not really an issue, thanks to the screw-back case of the B-equipped watch, versus the mono block case of the A-equipped version) and the day/date corrector wheel is made of a nylon material. Those are the major material differences, but the A and B also differ in the finish of certain components like the mainspring barrel cover and the pallet fork stanchion. Enough geekery, let's get to it.
Here is the watch, as it arrived. Yikes! Note the deep scratches in the case.


The first thing to do is to remove the movement from the case, which is accomplished by unscrewing the case back, removing the crown/stem and withdrawing the movement from the rear. Then the front bezel is removed using a case opener, followed by the gasket and the crystal/rehaut assembly. Here's what it looked like once disassembled. Not too pretty.


After dropping the case parts in the solvent tank, I began disassembling the movement. The first step is removal of the hands. This is done with a pair of shop-made miniature pry-bars and using a thin poly sheet that prevents damage to the dial surface, as well as containing the hands when released. Then the dial is removed by loosening the two retaining screws on the side of the main plate. This also allows the casing spacer to be removed.


The next step is disassembly of the day/date mechanism and the dial train.


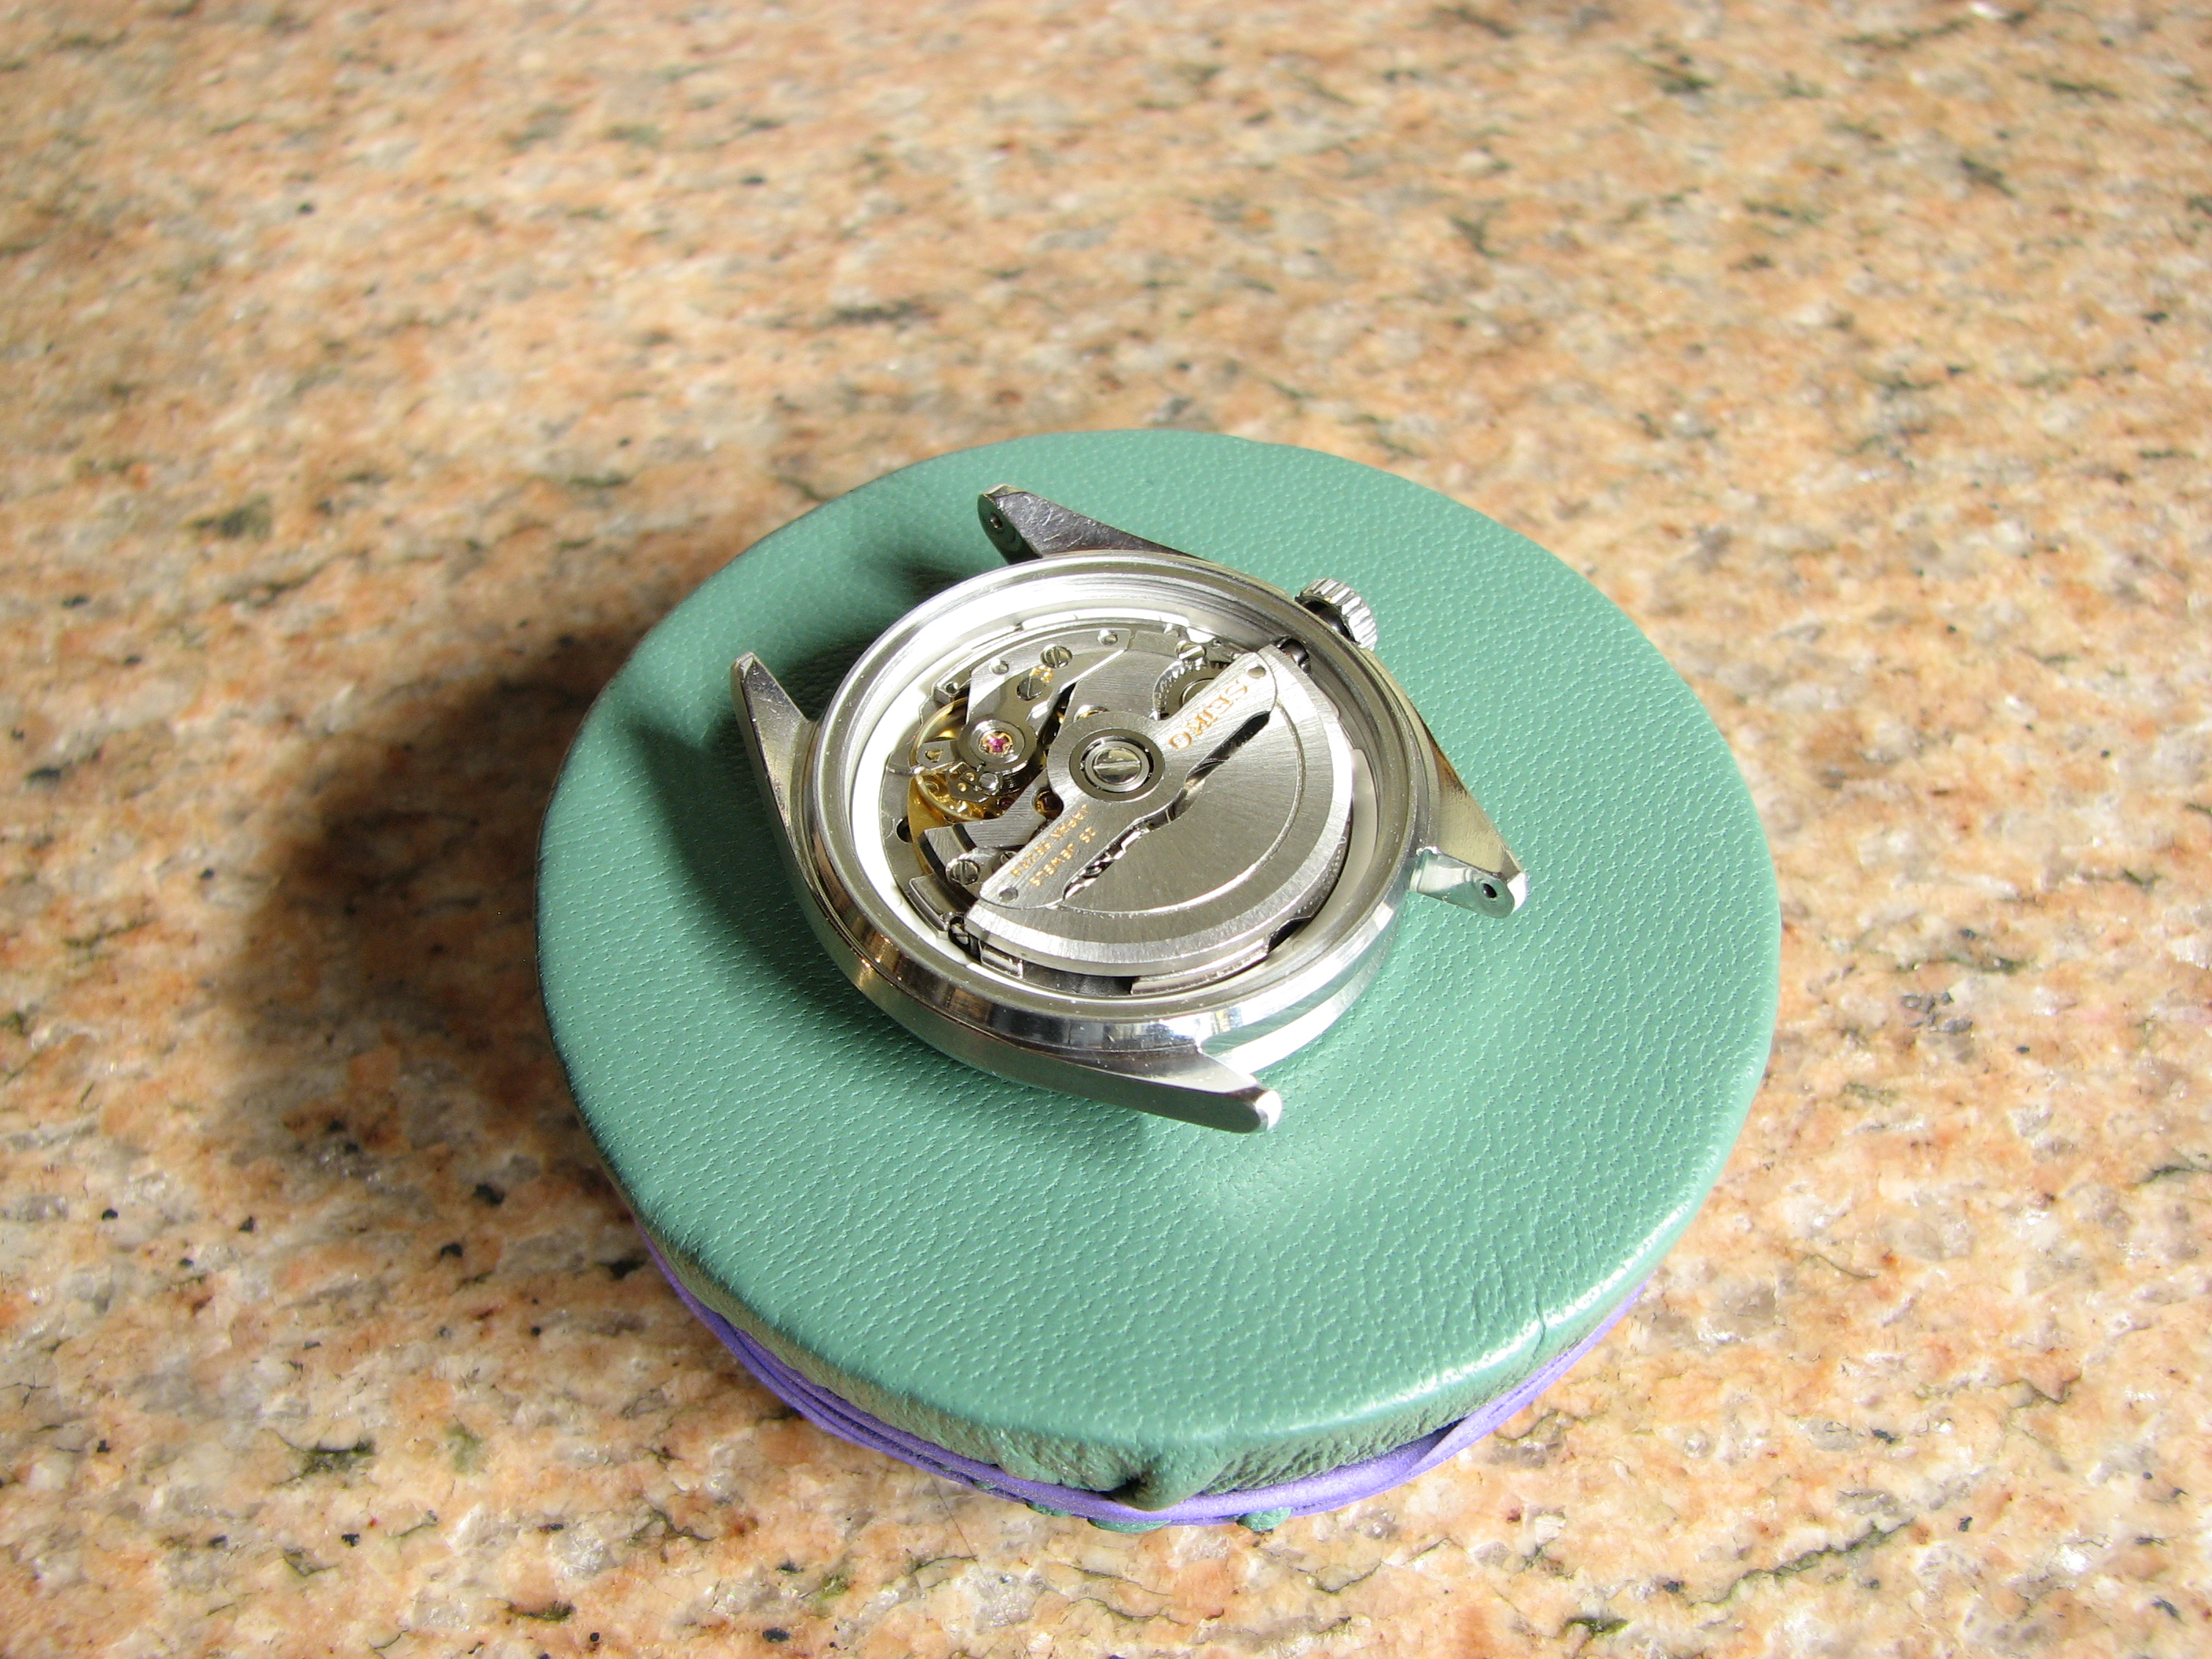
Then the movement gets flipped around for disassembly of the auto-winder rotor (already removed), regulator and main train.


Seiko polishes the cases of their Grand and King models using a method that they refer to as "Zaratzu". This is, effectively, machine lapping of each individual surface of the case, ensuring that all flats remain so, and all edges are sharp. I do not have this polishing equipment but I do have a pretty steady hand, and files, which were needed to get the case ready for polishing because of the depth of the scratches. The actual polishing was also done by hand, using wood blocks and multiple lapping compounds, in order to maintain the flats and edges. No buffing wheels are used.

Everything cleaned and ready for reassembly, once the NOS crystal arrives.

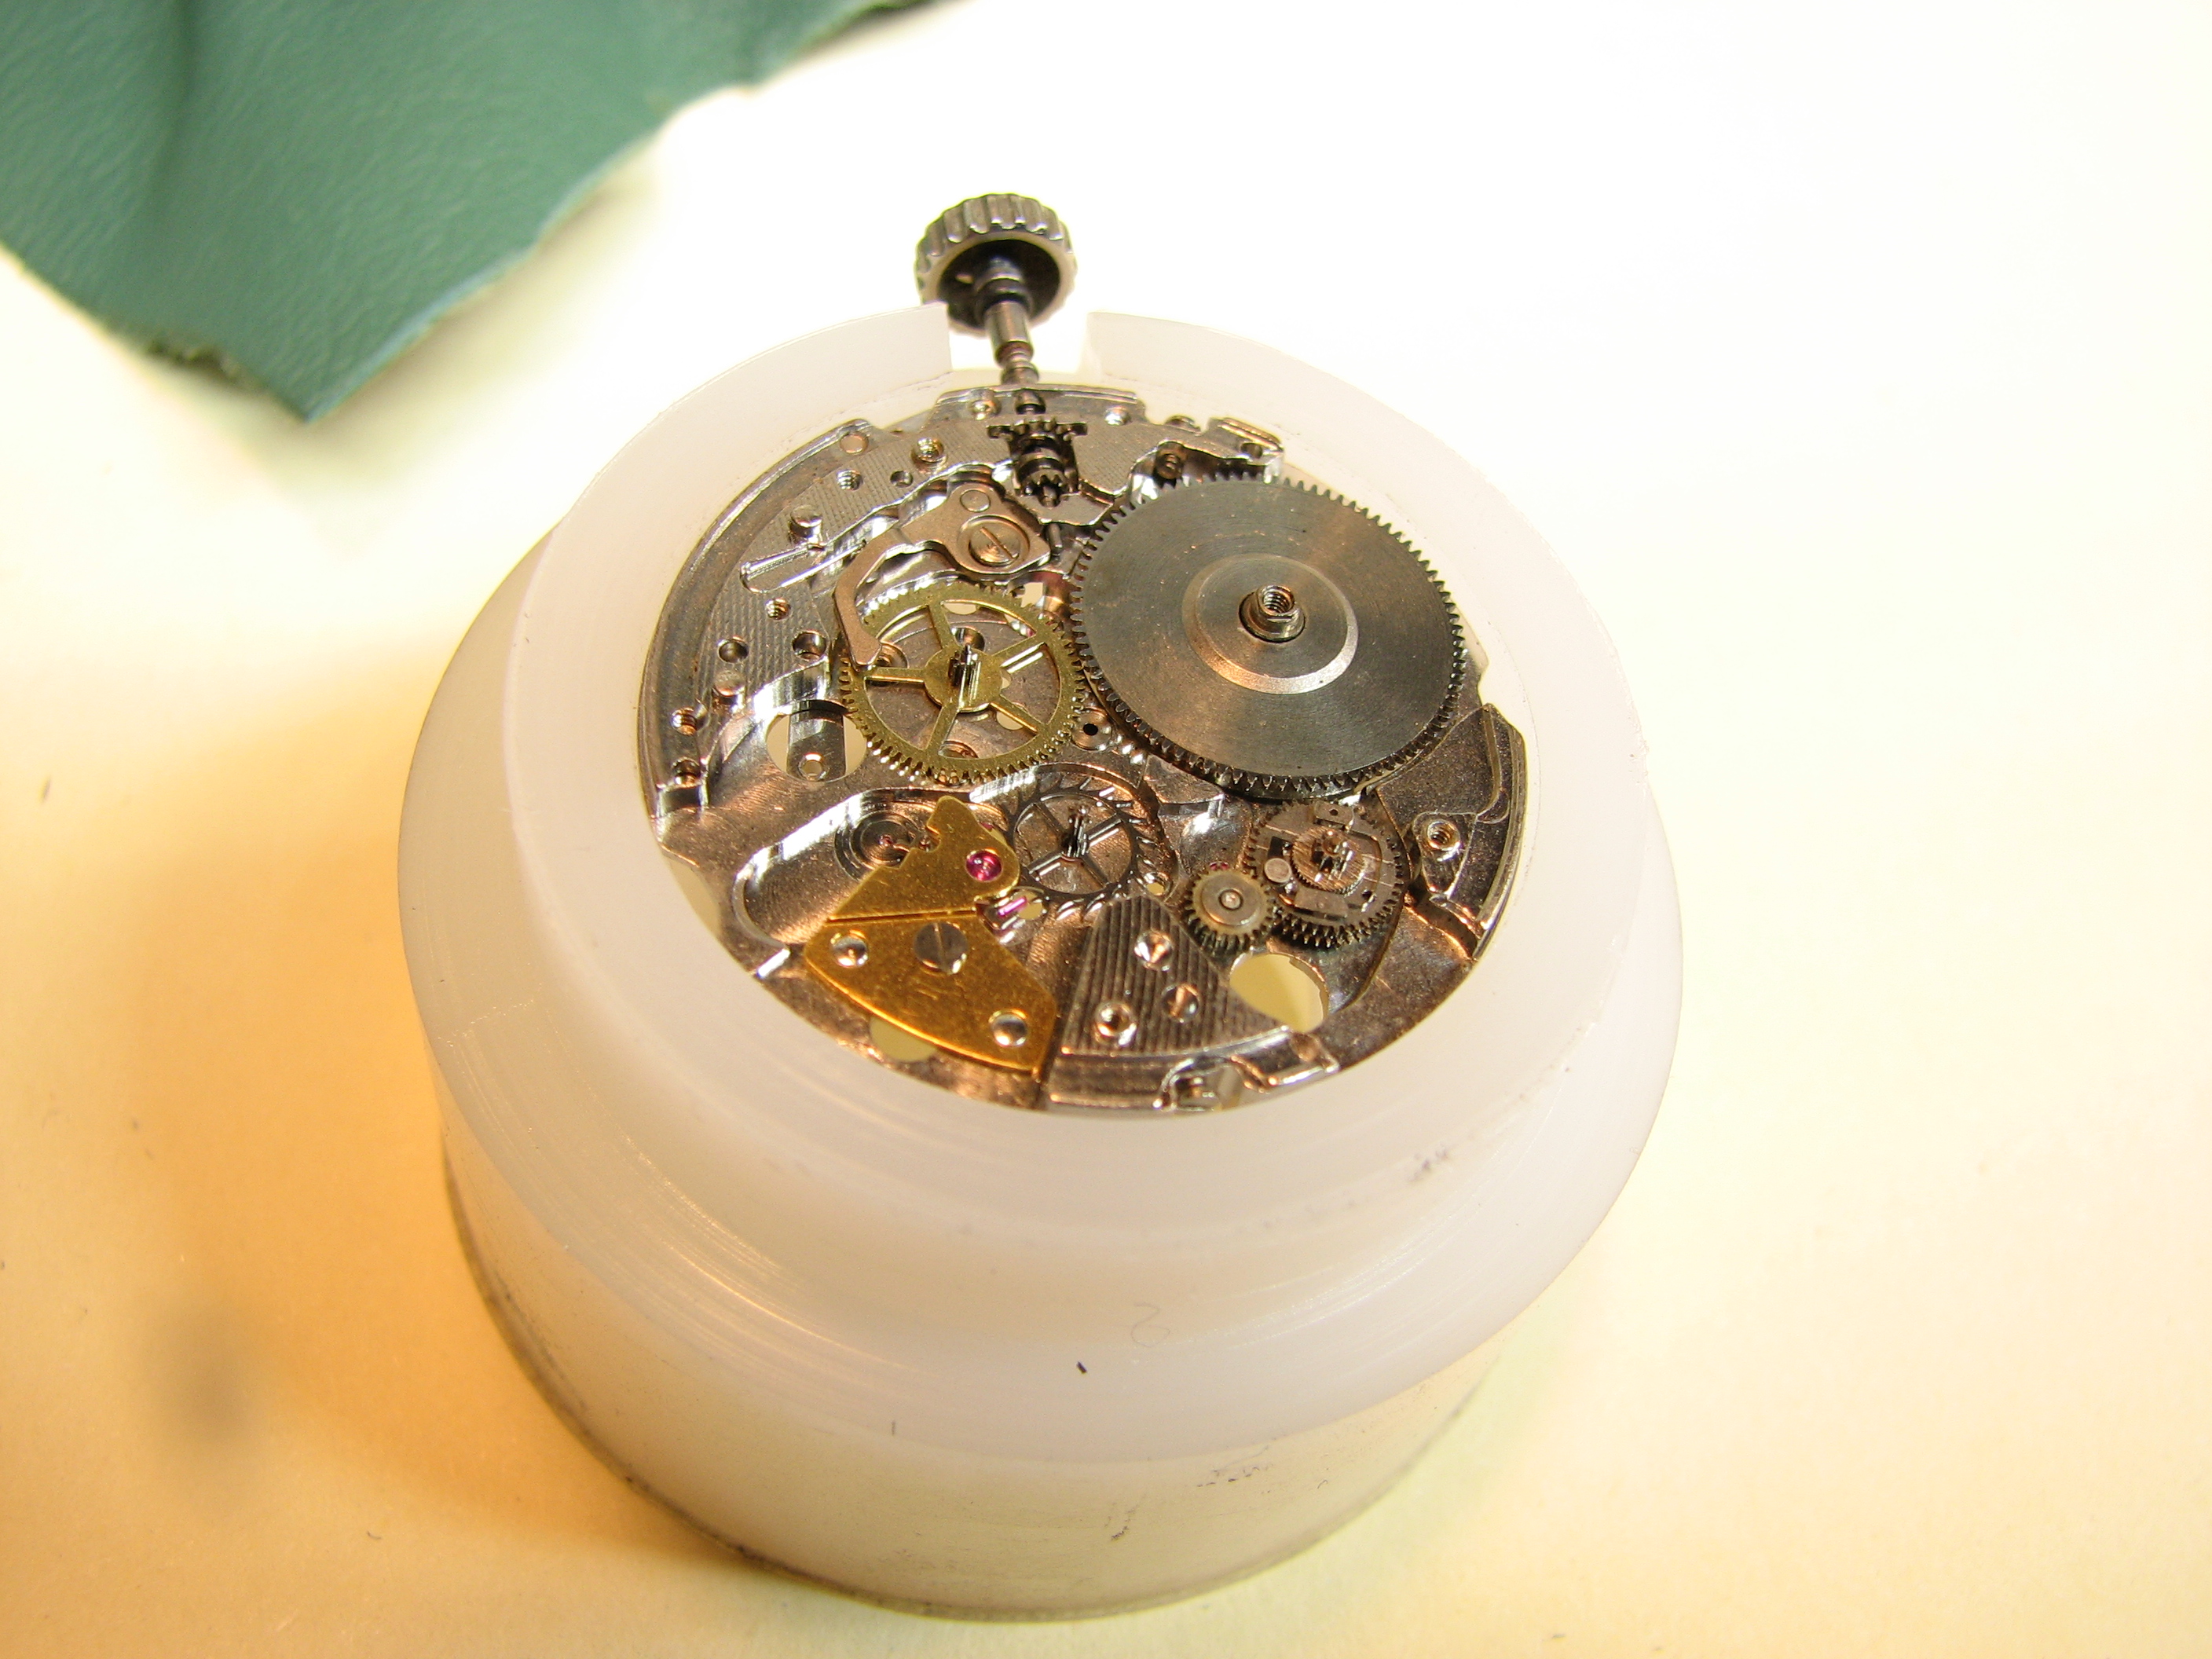
Reassembly begins with lubing and installing the mainspring, using a shop-made mainspring winding tool.


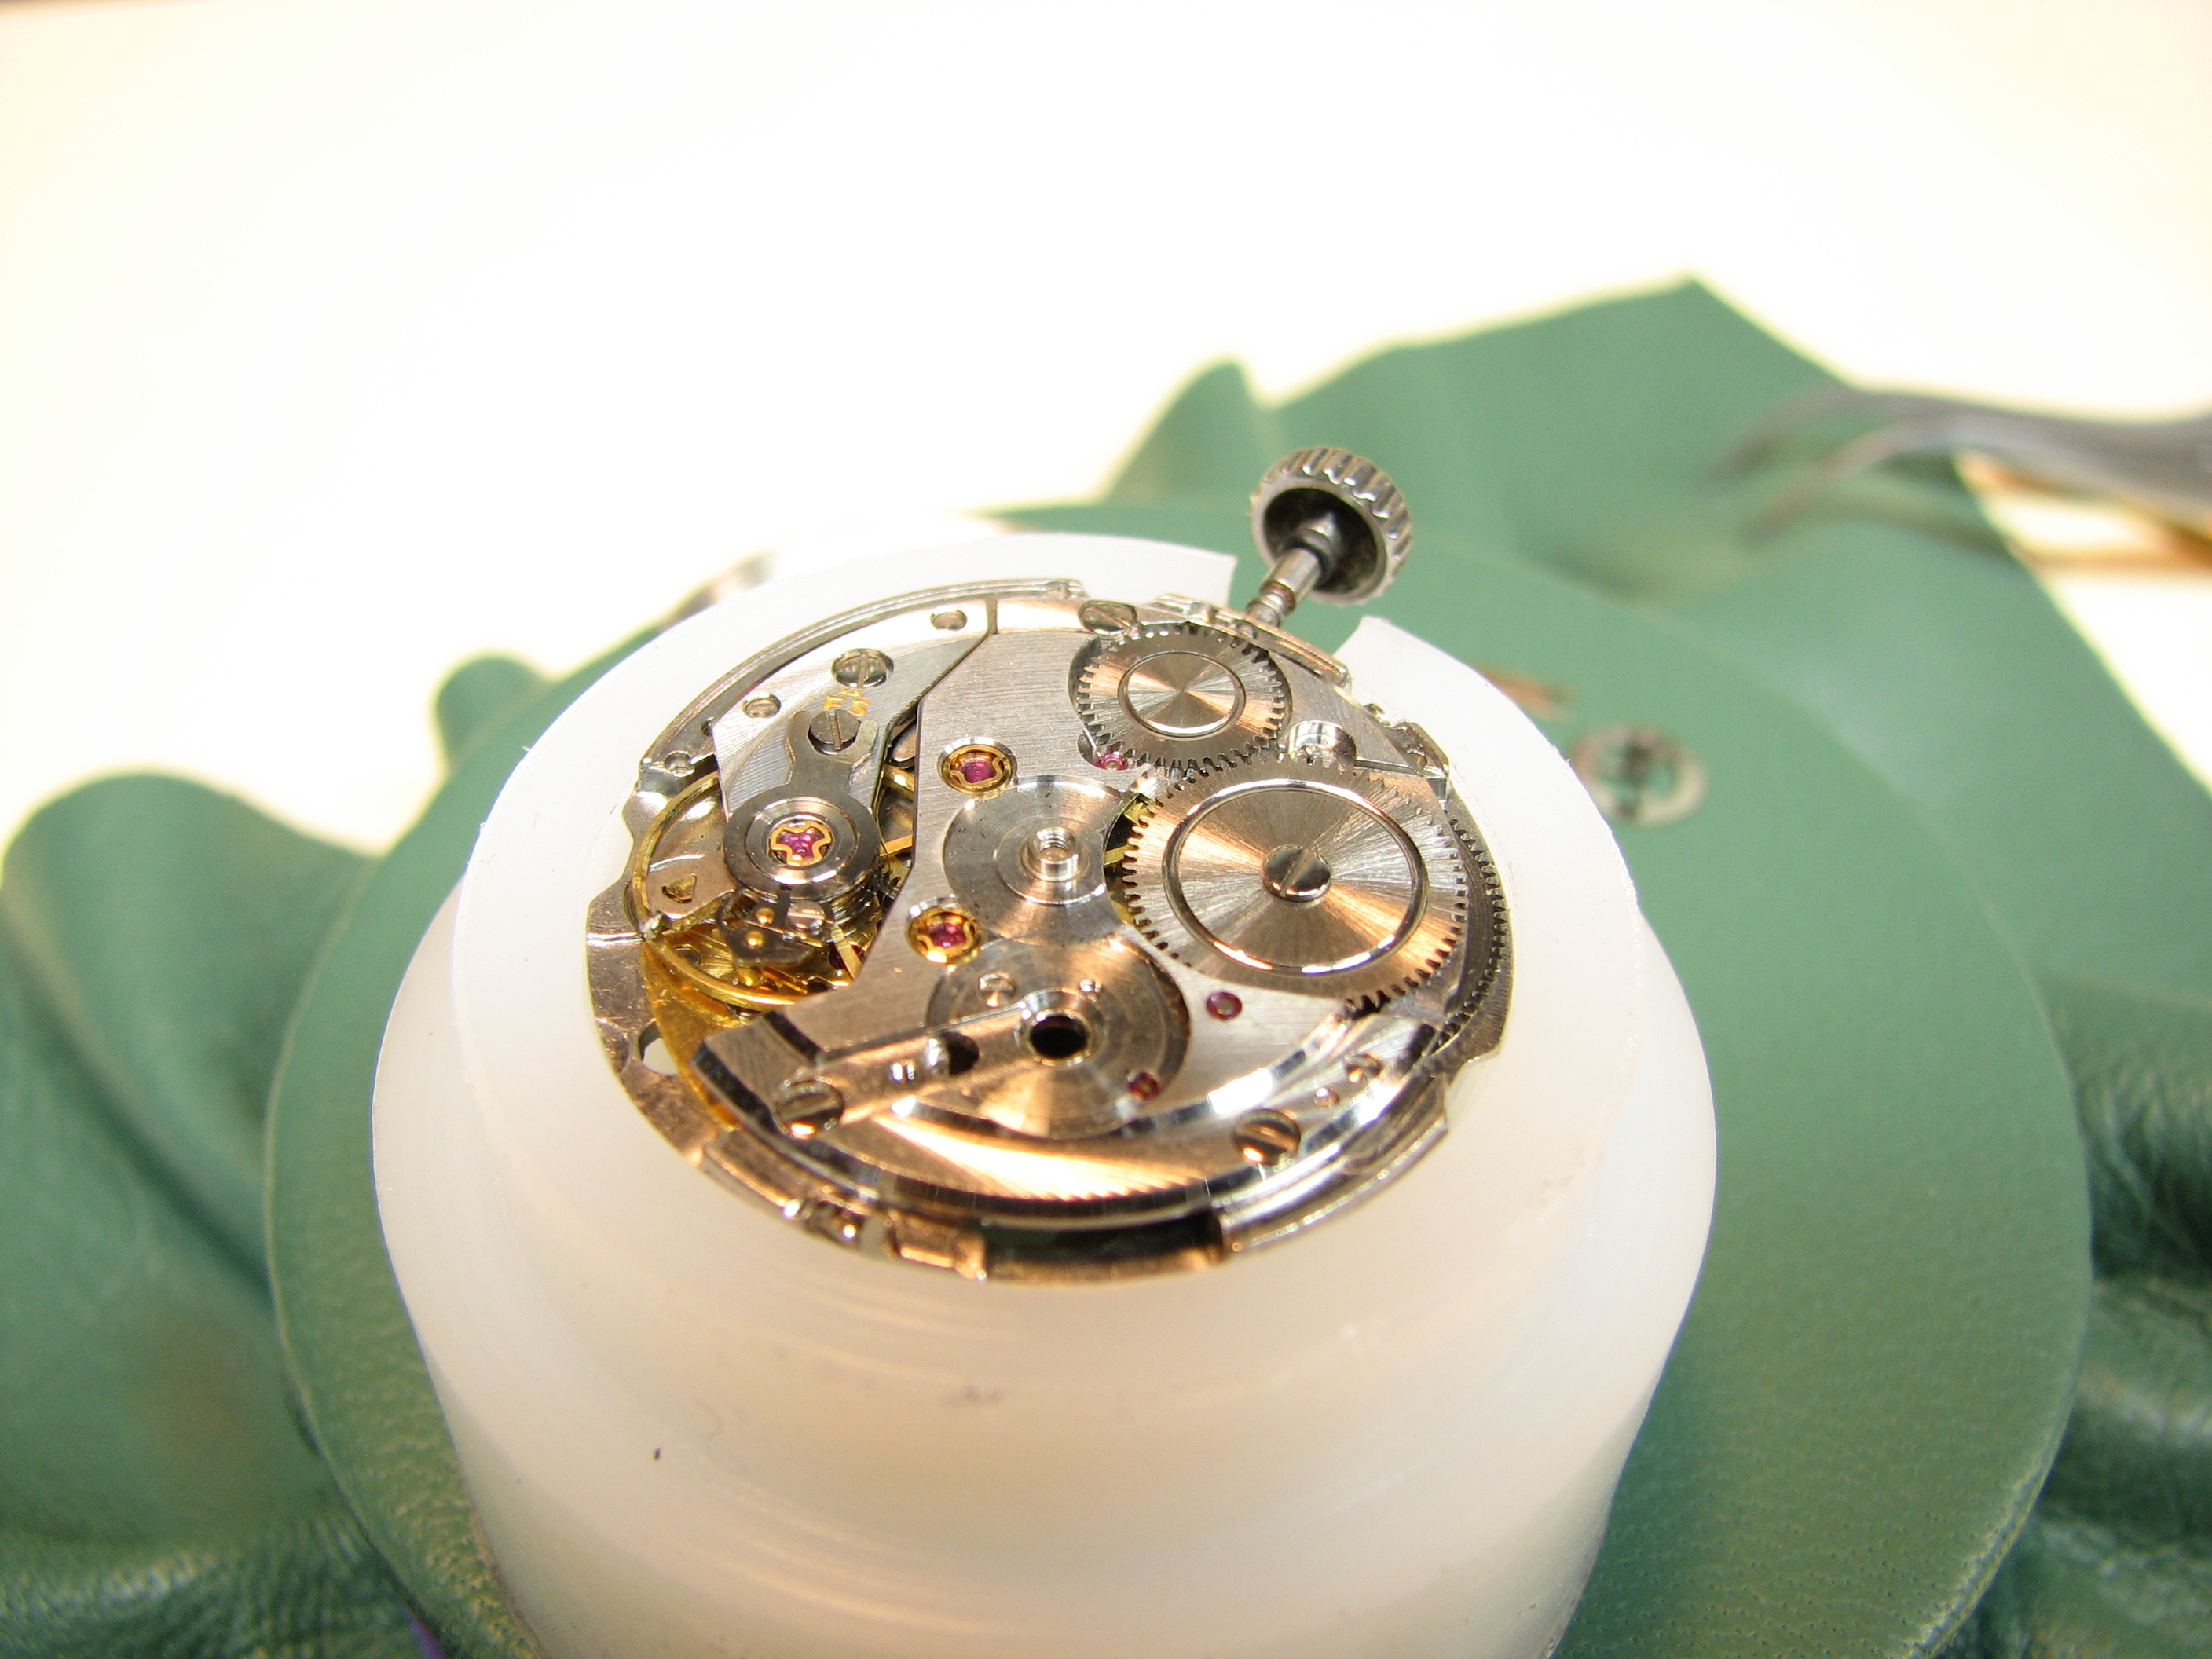
Then the mainspring barrel and main train, along with the under-bridge portions of the auto-winder are installed, followed by the main bridge and pallet assembly. Each of the jewel bearings is lubed as assembly commences. Note the polished bevels of the bridge, the screw holes and the jewel recesses.


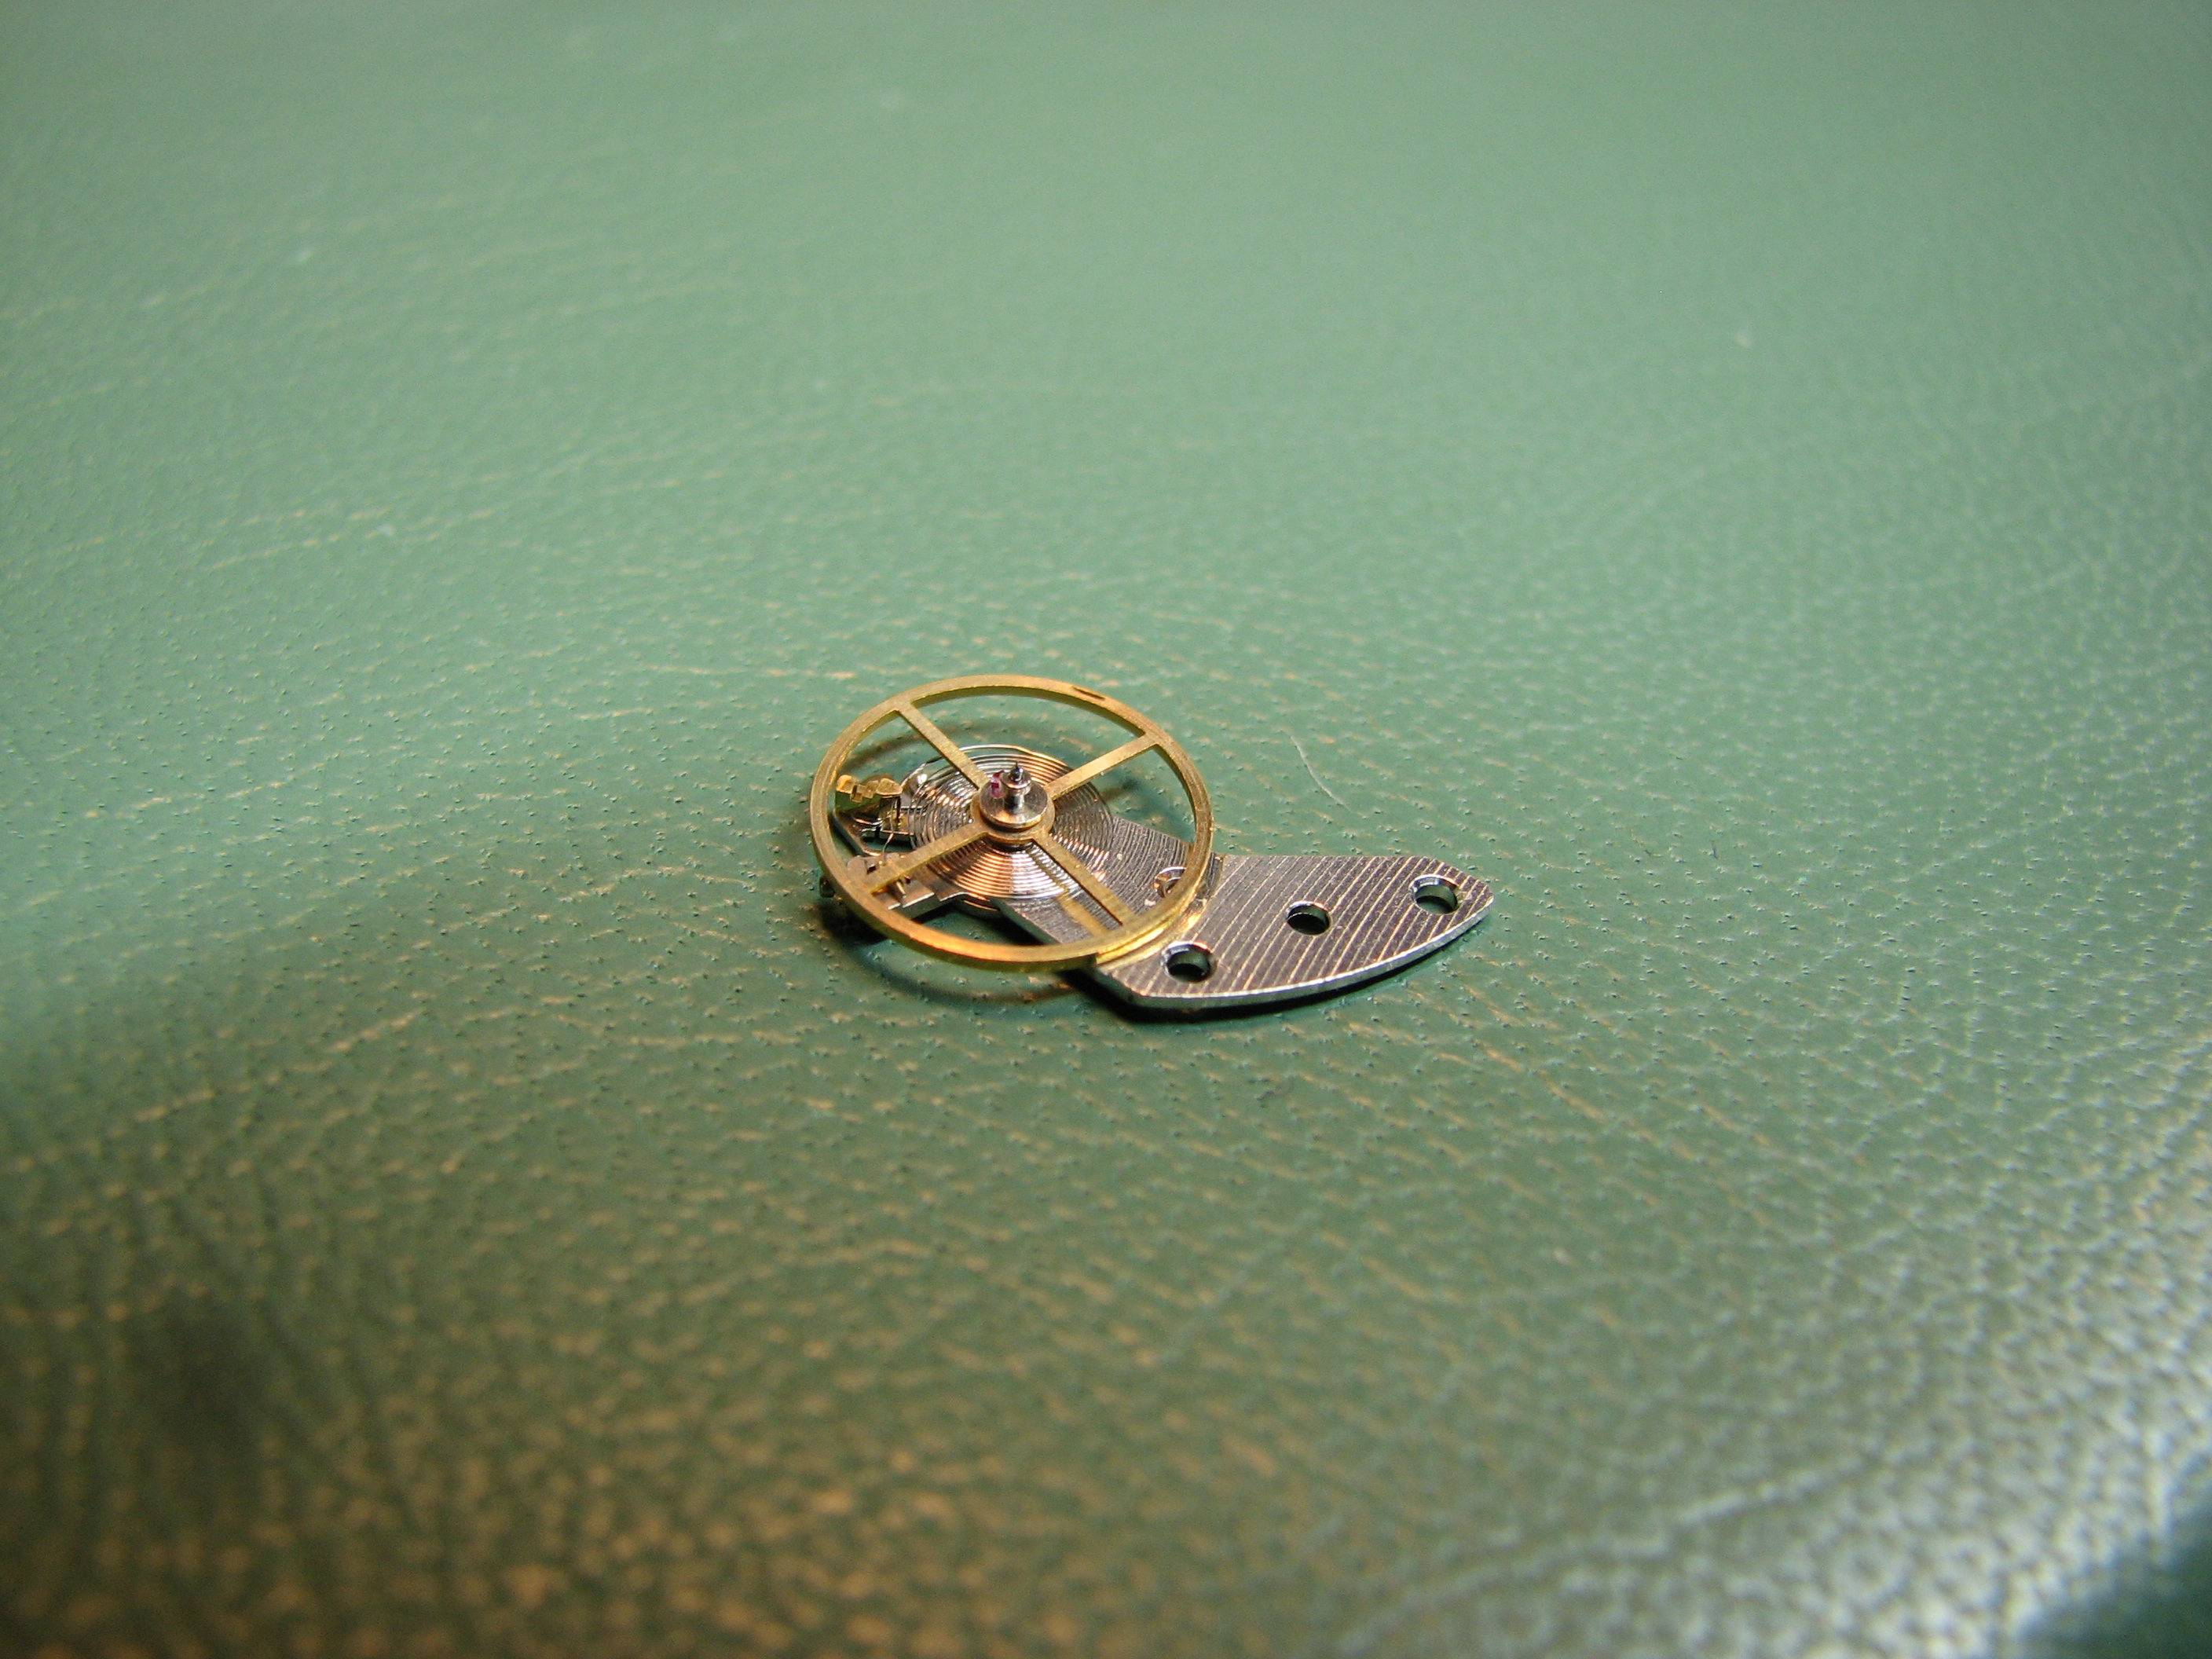
Next is the installation of the regulator assembly (regulator, balance wheel and hairspring) Note the machined notch on the underside of the balance wheel. This is used for "poising" (balancing) the wheel by removing weight from the "heavy" side. That notch is .004 of an inch wide.

A couple of turns of the crown and, it runs. Now the auto-winder rotor is installed after its bearing and the gear teeth (on the back side) are lubed.


Now on to the dial side of the movement. I did deviate from "factory correct" by bluing the sweep second hand.


The shop-made case support and pusher used to snap the bezel (which retains the crystal assembly) into place on the case. They are made from Lexan and the pusher's contact area is highly polished to ensure no chance of marring anything.

The movement is reinstalled into the case. All that's left is to install the rear spacer and back cover (with a new gasket).