


The photos of it in hand. Things aren't looking any better.


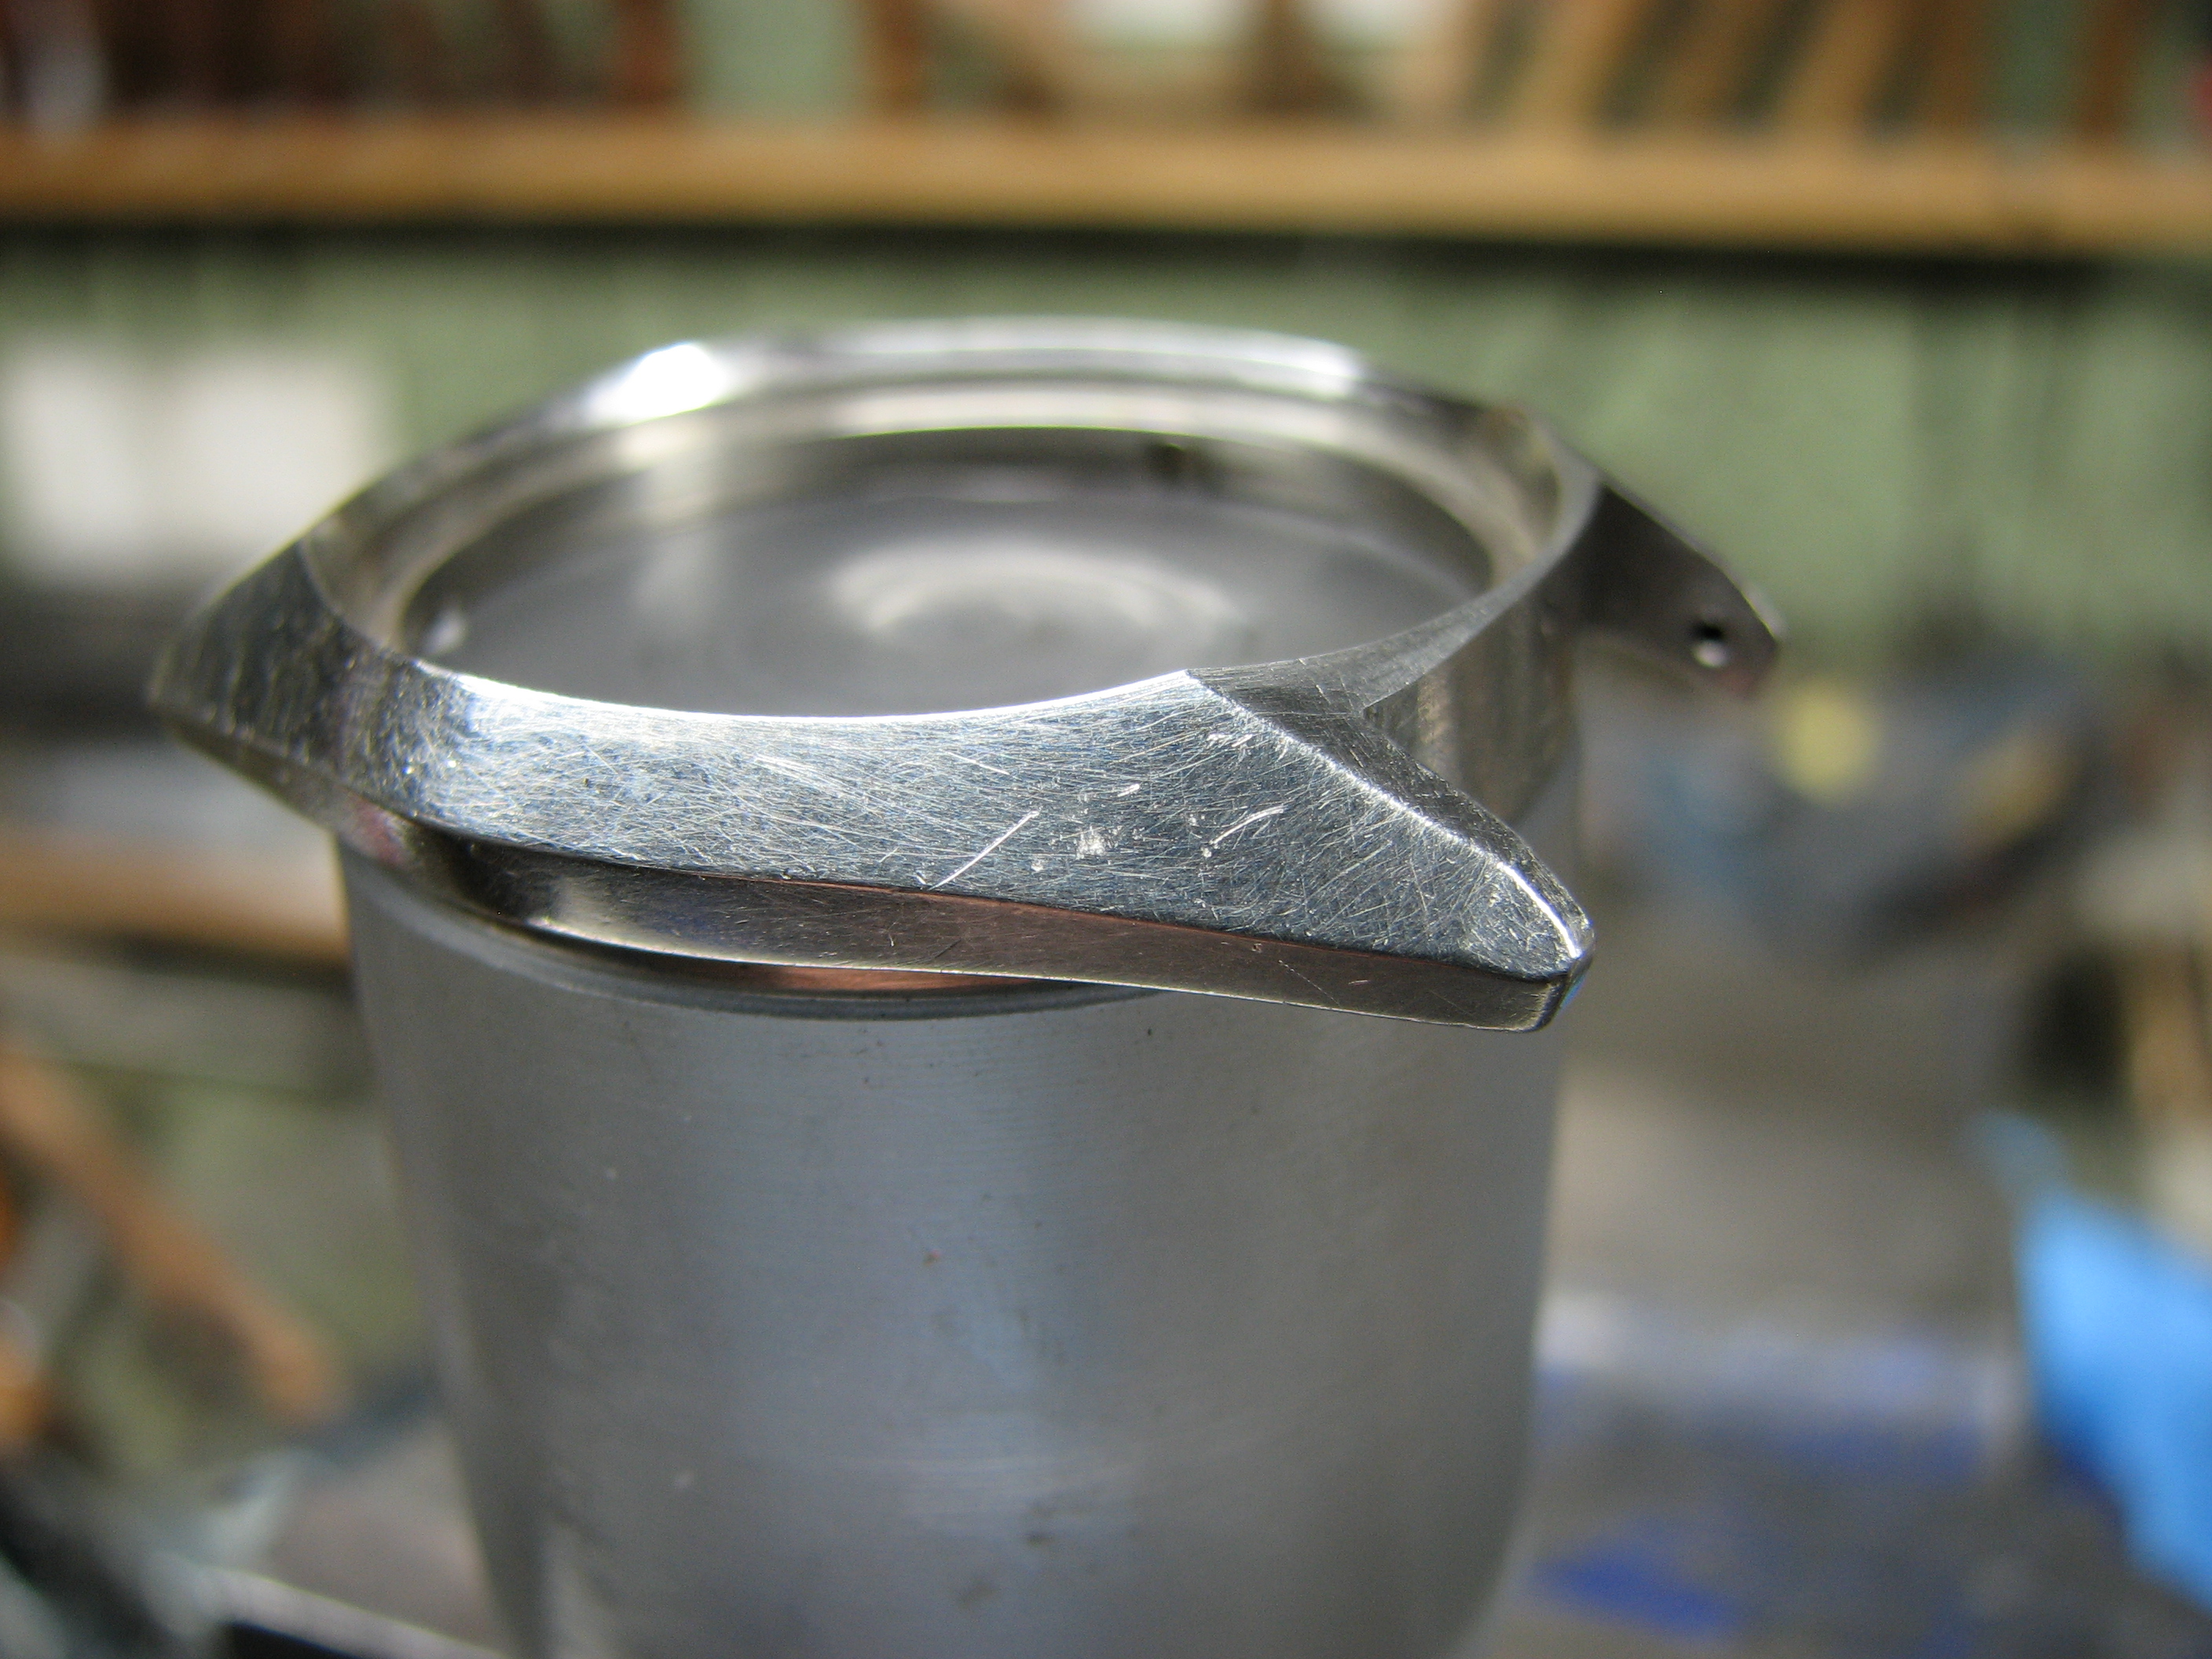


As you might well imagine, removing all of those scratches and dings from the case, while maintaining the contours and edges, is going to be quite a bit of work.
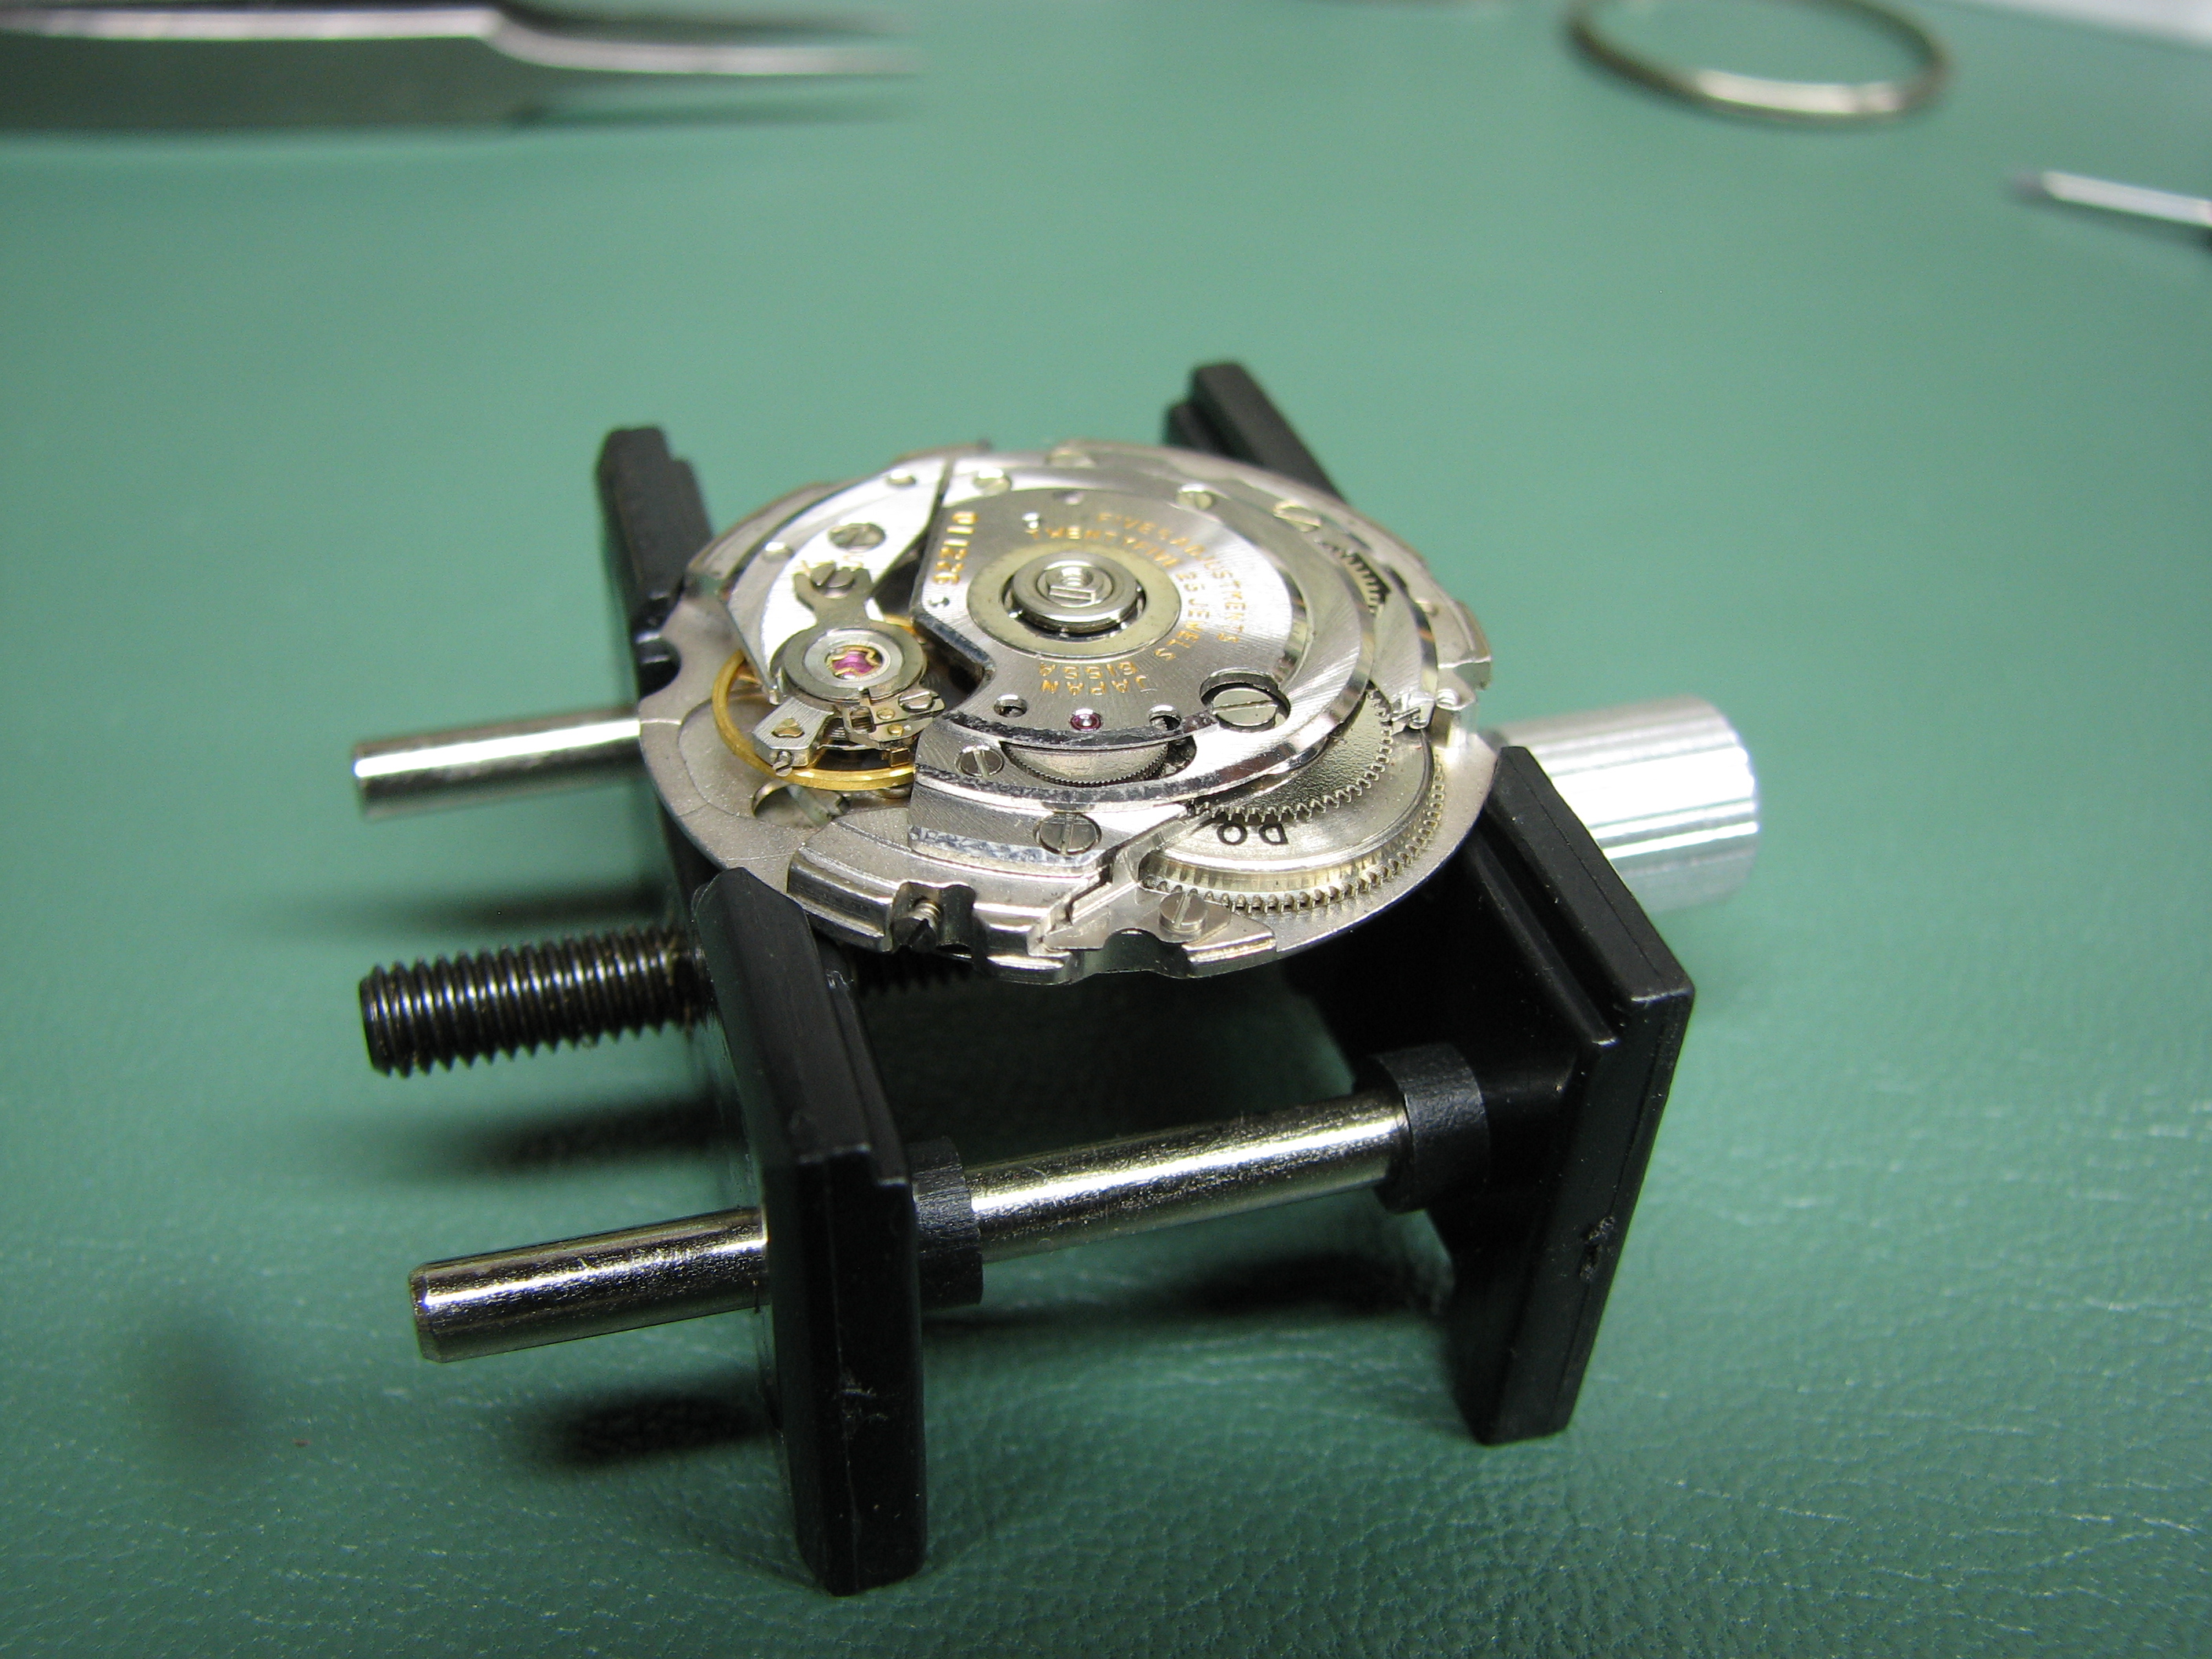
Next, the hands and dial are removed and disassembly of the movement commences. Unsurprisingly, there was enough dirt and debris inside to stop two dozen watches. Seiko's Hi-Beat (36000 BPH) 61-series movements use a sealed (by crimping the cover in place) mainspring barrel, which complicates disassembly of the component for servicing the mainspring. Sometimes they open as readily as an unsealed unit, sometimes they don't. Rather than bother with trying to disassemble it, I opted to replace it with a new old stock unit. They're rare, and pricey, but the peace of mind is worth it.
With the rotor removed, the auto-wind module is accessible for removal from the main bridge.


Then, the movement is flipped over for removal of the date wheel, dial train and keyless (winding/setting) mechanism.


With that done, it is once again flipped for removal of the main train bridge, the train wheels and the hacking lever.


All jewel bearings are inspected for cracks and/or chips. Everything looks good on initial inspection, so it's on to a thorough solvent cleaning, then a more thorough inspection under the microscope.

While any of the chunks of crap inside the watch could have stopped its function, the actual culprit was this piece of dirt in the fourth wheel. Yes, it's really small and that's all it takes.

Everything cleaned and ready for reassembly/lubing of the movement.

With the movement squared away, work could begin on resurrecting the case. Lacking enough hands to take photos while filing and polishing, photos of the finished product will have to suffice. All major damage was removed with a flat #4 cut file, followed by a #6 cut file, then wet/dry paper to 2500 grit and final polishing with flat hardwood charged with diamantine paste. Yes, it's time consuming but those contours and edges could never be maintained with a buffing wheel.


The bezel's damage was machined away on the lathe. The polishing of the bezel follows that of the case.


Replacement of the crystal is next. I like to use OEM crystals on Seikos because aftermarket parts just aren't even close to identical in their configuration and it shows in the finished job. Luckily, the factory crystal for this reference isn't hard to find. Unfortunately, Seiko redesigned the bezel of the service part, making it in two parts with the crystal trapped in between. While this is no doubt functionally superior from the standpoint of water-tightness and production efficiency (no glue is used), it compromises the aesthetics of the watch due to the added height of the two-piece bezel. Fortunately, the crystal itself is the same, so I disassembled the pressed-together bezel in order to remove the crystal, which will be cemented into the original bezel, preserving the original proportions of the watch.

The caseback was also resurfaced and polished in the lathe.

So, the movement is back up and running, the case is done and the new crystal is installed. That brings us to the dial. The damage to the dial's finish (both the lacquer and the plating under that) is obvious in the photos. I know that there are some "patina" fans out there that would say: "leave it alone, it's part of the watch's history" but I'm not one of them, nor am I much concerned with their opinions on the matter. Therefore, I will be refinishing the dial, and much worse, but we'll get to that later.
The first thing is to actually disassemble the dial itself. This means removing all of the hour markers, the date window and the Seiko and GS logo appliques. All of those parts are rhodium plated (except for the GS logo, which is solid gold) and came up like new with nothing more than cleaning. The dial itself was then soaked in acetone to remove the remains of the lacquer.

Then the dial was polished flat.

The next step is to "sunray" polish the surface.

Then silver plating.

Finally, the dial is sprayed with a white-tinted clear lacquer. Once fully dry, the dial printing is reapplied and the dial is reassembled.

Here is a shot of the watch, reassembled but without the hands. Why is that, you wonder? Well, that's because the refinished stock dial isn't going to be used. I decided to make an entirely new dial, one that won't have all of the "graffiti" on it, and that looks a bit less like every other vintage Seiko dial.

The first thing to do was to actually make the dial itself. It is machined from 360 brass. The minute markers are engraved (because there will be no printing on this dial).


Cutting the locating slots for the hour markers with a .015" end mill.


Next was to make a pantograph pattern for the hour markers and cut them out of the sheet stock. Using a 90 degree included angle, single lip cutter netted the trapezoidal profile and triangular cross-section that I wanted.


Then the back side of the markers were machined to receive the locating tabs.

With the tabs installed, the surfaces of the markers can be filed (to remove the machine marks) and polished in preparation for plating.


The last step is to mask the front and outer bevels and bead blast the inner bevels, then it's ready for plating.


The last parts of the dial to make are the GS and Suwa logos. These were made on the pantograph, using patterns that I made by hand.


They are then bead blasted and the faces straight-grain polished.


Then everything is silver plated, the GS logo is rose gold plated, the sweep second hand is blued and the watch is assembled. The inspiration for this dial came from a number of places: the background texture was inspired by Citizen's version of a "snowflake" dial, the applied Suwa logo and square-cornered date window by the Grand Seiko VFA 6185-8020, and the hour markers by vintage Omega Seamaster (but with truncated points).
The finished job:


With its grey croc strap attached...


Fantastic work, I am a hobbyist watchmaker. Also love guns 👍😁
ReplyDeleteThank you Dave.
DeleteBeautiful work as always sir. You have set the bar mighty high again
ReplyDelete